For this project, I created a pomodoro application for mobile and desktop! It is made with Flutter — this makes building to multiple devices easy! Operating systems on mobile devices such as Android and iOS and desktop devices such as Windows, Linux, and MacOS are all compatible!
Purpose
I was originally inspired by another pomodoro app which I used extensively “Minimalist Pomodoro Timer” by Goodtime. I loved the minimal aesthetic and how the developer made its code open-source as can be found on their Github. I use it almost every single day and it helps me stay focused.
However, it was missing some features that I wanted to have — namely a desktop app and cloud syncing between devices. Since I primarily use Linux OS and Android OS, Flutter is the perfect choice! Furthermore, AWS Amplify
Creating the timer
The timer requires stacking a text widget inside a CircularProgressIndicator widget. Both are stateful widgets that are updated together whenever the timer ticks every second.
void initializeTimer() {
setState(() {
_start = (_minute * 60) + _second;
_initial = _start;
_initialActual = _initial;
_initialMinute = _minute;
_initialSecond = _second;
});
}
void togglePlayPause() {
// if timer is currently running, pause it
if (_isPlaying) {
setState(() {
_isPlaying = false;
});
}
// run if timer is at initial time
else if (_start == _initial && _isPlaying == false) {
setState(() {
_isPlaying = true;
});
startTimer();
}
// run if timer is paused
else if (_start != 0 && _isPlaying == false) {
setState(() {
_isPlaying = true;
});
startTimer();
}
}
void tickTimer(Timer timer) {
if (_start == 0 || _isPlaying == false) {
setState(() {
timer.cancel();
_isPlaying = false;
});
} else {
setState(() {
_start--;
_minute = _start ~/ 60;
_second = _start % 60;
});
}
}
void startTimer() {
const oneSec = Duration(seconds: 1);
_timer = Timer.periodic(
oneSec,
tickTimer,
);
}
void resetTime() {
if (_isBreak) {
setState(() {
_start = _break * 60;
_initial = _break * 60;
_minute = _break;
_second = 0;
});
} else {
setState(() {
_start = _initialActual;
_initial = _initialActual;
_minute = _initialMinute;
_second = _initialSecond;
});
}
}
...
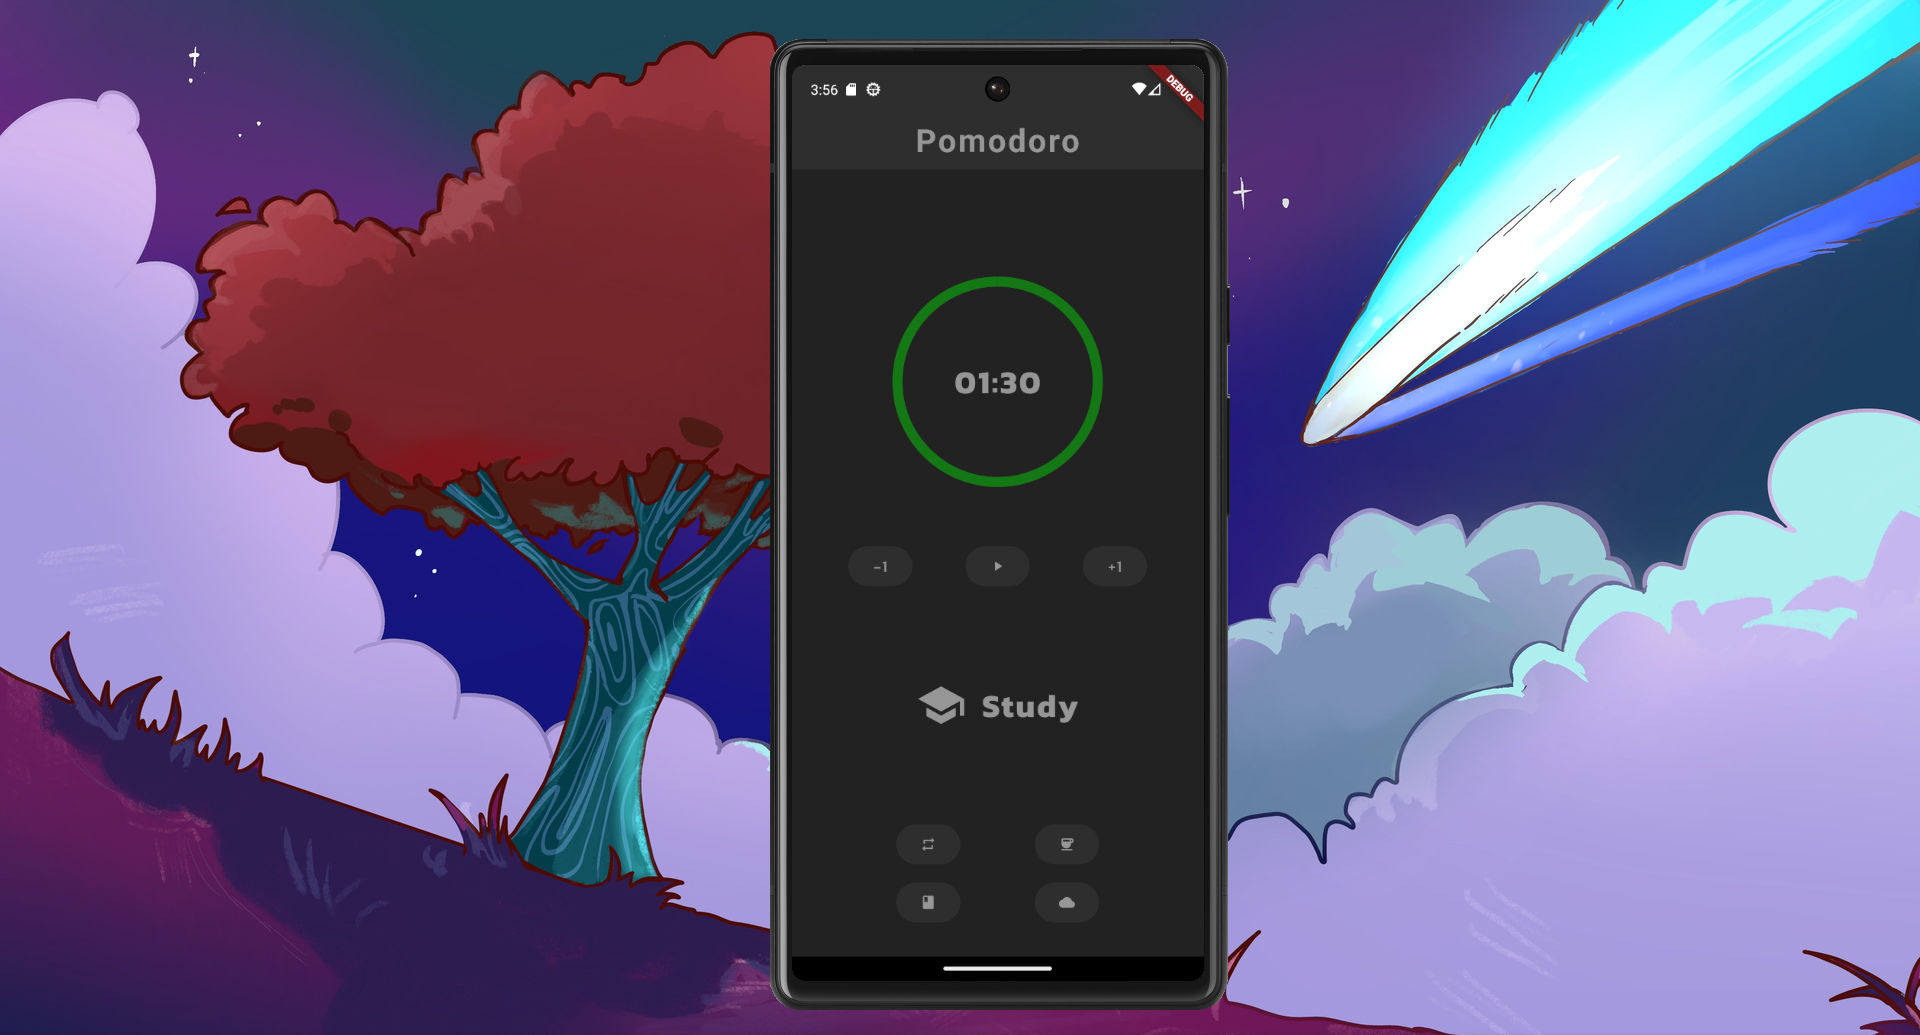
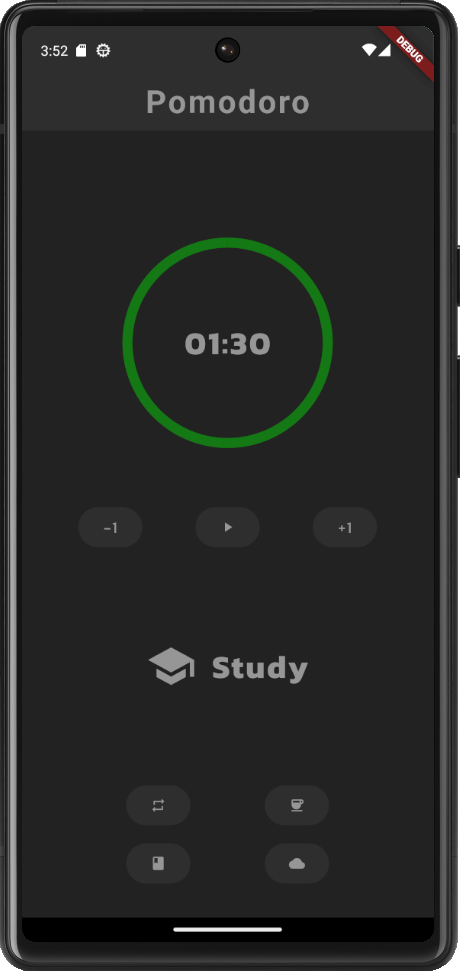
Stack(
children: <Widget>[
ProgressIndicatorCircle(timeValue: (_start / _initial).toDouble()),
SizedBox(
width: 200,
height: 200,
child: Center(
// use padleft 3 to account for colon character
child: StyledTimer('$_minute:'.padLeft(3, '0') + '$_second'.padLeft(2, '0')),
),
),
],
),
...
TextButton(
onPressed: togglePlayPause,
style: TextButton.styleFrom(
backgroundColor: AppColors.secondaryColor,
),
child: Icon(
_isPlaying ? Icons.pause : Icons.play_arrow,
color: AppColors.textColor,
size: 16.0,
),
),Using AWS Amplify for cloud syncing
First I needed to configure my application to use amplify
Future<void> main() async {
  WidgetsFlutterBinding.ensureInitialized();
  await _configureAmplify();
  runApp(
    MaterialApp(
      title: "Pomodoro",
      theme: primaryTheme,
      home: const Home()
    )
  );
}

Future<void> _configureAmplify() async {
  // To be filled in
  try {
    // Create the API plugin.
    //
    // If `ModelProvider.instance` is not available, try running
    // `amplify codegen models` from the root of your project.
    final api = AmplifyAPI(modelProvider: ModelProvider.instance);

    // Create the Auth plugin.
    final auth = AmplifyAuthCognito();

    // Add the plugins and configure Amplify for your app.
    await Amplify.addPlugins([api, auth]);
    await Amplify.configure(amplifyconfig);

    safePrint('Successfully configured');
  } on Exception catch (e) {
    safePrint('Error configuring Amplify: $e');
  }
}
Creating the login
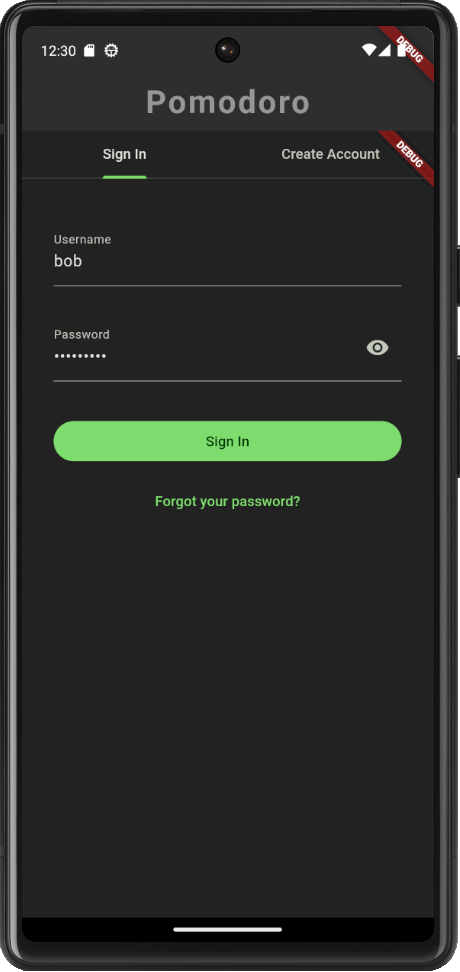
Next, the user needs to login so that their data will be saved to their particular profile. Luckily, flutter has a prebuilt sign in/sign up experience for Amplify Auth by importing their package. I included it in my widget builder.
Widget authenticationPage() {
    return Authenticator(
      child: MaterialApp(
        theme: primaryTheme,
        builder: Authenticator.builder(),
        home: Container(
          padding: const EdgeInsets.all(30.0),
          child: Center(
            child: Column(
              children: [
                TextButton(
                  onPressed: homeView,
                  style: TextButton.styleFrom(
                    backgroundColor: AppColors.secondaryColor,
                  ),
                  child: Icon(
                    Icons.arrow_back,
                    color: AppColors.textColor,
                    size: 16.0,
                  ),
                ),
                const SizedBox(height: 20.0),
                const StyledText('You are logged in!'),
                const SizedBox(height: 20.0),
                TextButton(
                  onPressed: signOut,
                  style: TextButton.styleFrom(
                    backgroundColor: AppColors.secondaryColor,
                  ),
                  child: Icon(
                    Icons.logout,
                    color: AppColors.textColor,
                    size: 16.0,
                  ),
                ),
              ],
            ),
          ),
        ),
      ),
    );
  }
I created a user “bob” and verified the email.
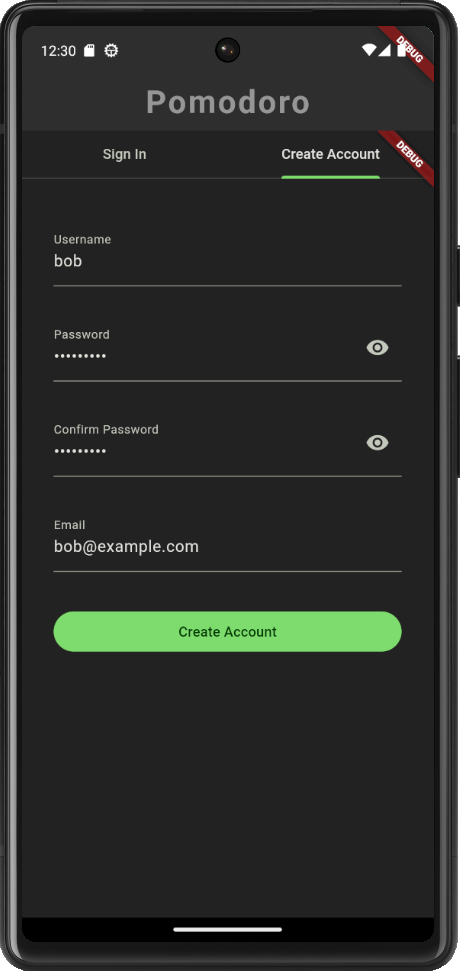
Afterwards, I can login with the user.
Looking at my Cognito User pool, I checked that the user exists and the email is verified.

Creating the activities
Here the user can input their own data to create an activity. They can specify the name of the activity along with the time and break time.
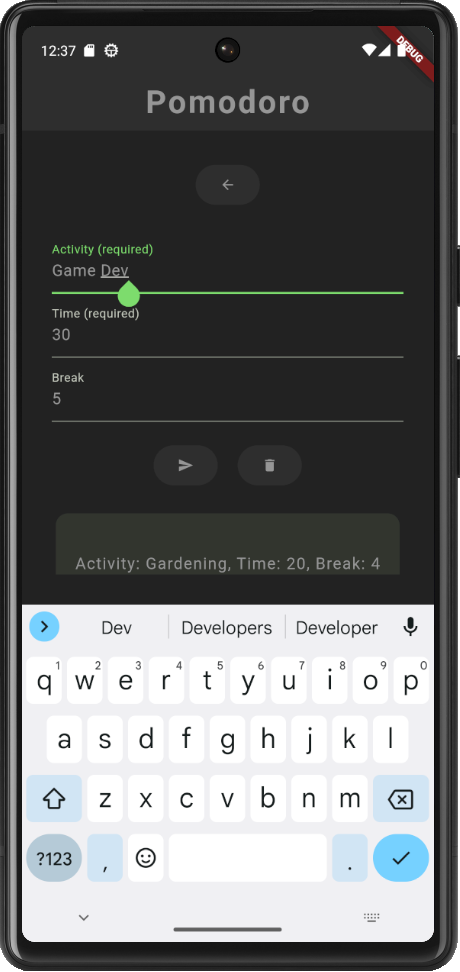
Once submitted, the activity should show up as a card in a scrollable list.
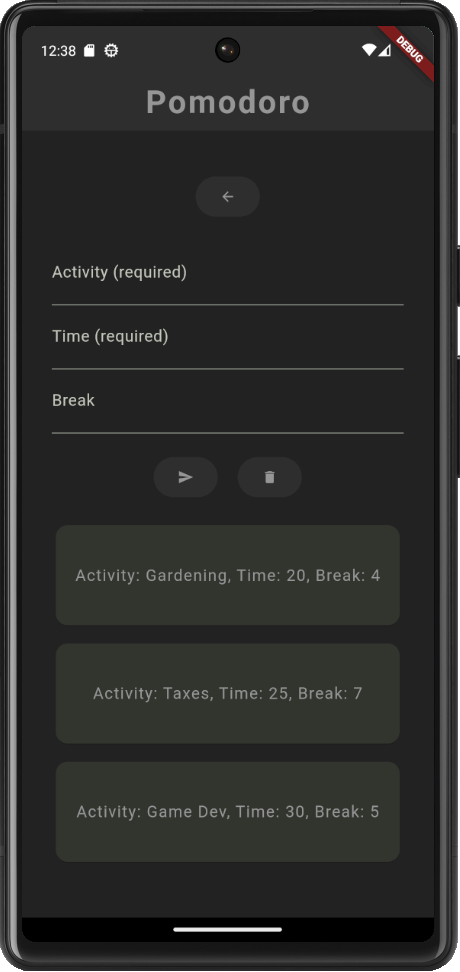
The user then can choose a card to be loaded as an active pomodoro on the home page.
class PomodoroActivity {

  // constructor
  PomodoroActivity({
    required this.activity, required this.active_timer, required this.break_timer
  });

  // fields
  final String activity;
  final int active_timer;
  final int break_timer;
  bool _isActive = false;

  // getters
  get isActive => _isActive;

  // methods
  void activePomodoro() {
    _isActive = !_isActive;
  }

  void updateActiveTimer(int value) {
    active_timer = value;
  }

  void updateBreakTimer(int value) {
    break_timer = value;
  }

}
Syncing the data with the cloud
Here I use the following schema for the activity entry.
type ActivityEntry @model @auth(rules: [{ allow: owner }]) {
  id: ID!
  title: String!
  activeTimer: Int!
  breakTimer: Int
}
Then I capture the user’s input for the activity in a form and make an Amplify POST request.
Future<void> submitForm() async {
// If the form is valid, submit the data
final curActivity = _activityController.text;
final curTime = int.parse(_timeController.text);
final curBreak = int.parse(_breakController.text);
// Create a new budget entry
final newEntry = ActivityEntry(
title: curActivity,
activeTimer: curTime,
breakTimer: curBreak,
);
final request = ModelMutations.create(newEntry);
final response = await Amplify.API.mutate(request: request).response;
safePrint('Create result: $response');
await _refreshActivityEntries();
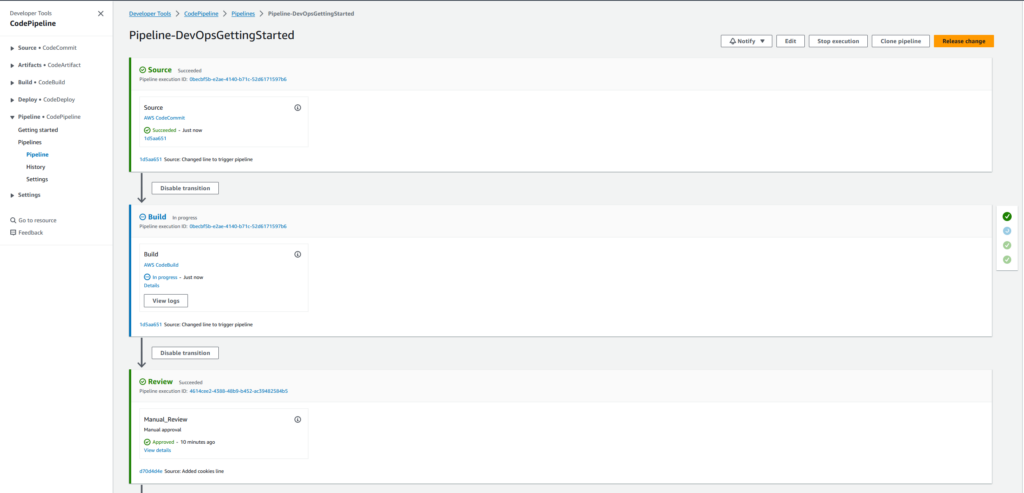
}This gets reflected in my DynamoDB database

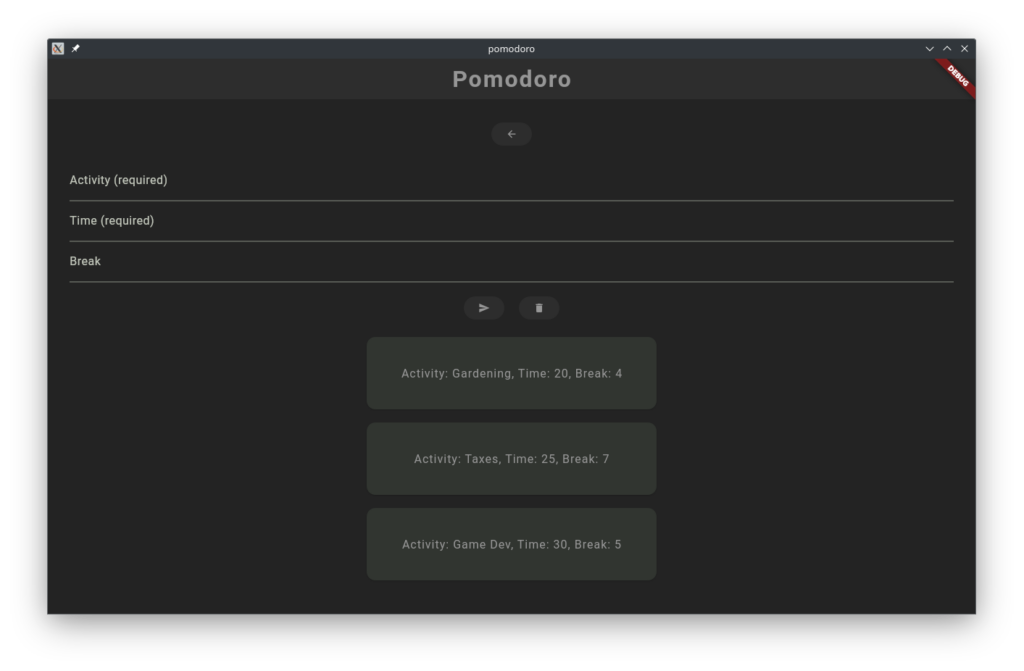
If I were to open another device with the same user login. The same cards should also appear in the activity view screen.
Here I opened my application in a desktop app, login with my user, and the same cards appear! It pulled the data from DynamoDB!
Deleting the activity
The user can optionally delete an activity they do not want. This will also delete the activity on AWS DynamoDB.
  Future<void> _deleteActivityEntry() async {
    if (_activityEntries.isEmpty) {
      return;
    }
    ActivityEntry activityEntry = _activityEntries[_activityEntries.length - 1];
    final request = ModelMutations.delete<ActivityEntry>(activityEntry);
    final response = await Amplify.API.mutate(request: request).response;
    safePrint('Delete response: $response');
    await _refreshActivityEntries();
  }